Learn how to increase the maximum upload file size for All-in-One WP Migration plugin in just 5 simple steps!
If you’re using the All-in-One WP Migration plugin for your WordPress site, you may have run into issues when trying to upload large files. By default, the plugin limits file uploads to 512 MB. However, there are instances when you may need to increase this limit, such as when you need to upload a large backup file or media files. Fortunately, increasing the maximum upload file size for the All-in-One WP Migration plugin is a relatively simple process that can be done in just a few steps.
Step 1: Go to Plugin Editor from the Left Menu Panel in the Admin Dashboard
The first step to increasing the maximum upload file size for All-in-One WP Migration is to go to the plugin editor from the left menu panel in the admin dashboard. To do this, log in to your WordPress site and navigate to the “Plugins” section on the left-hand side of the screen. From there, click on the “Editor” option. This will bring up a list of all the plugins you have installed on your site.
Step 2: Choose All-in-One WP Migration from the Dropdown and Click Select
Once you are on the plugin editor page, look for the dropdown menu labeled “Select plugin to edit” at the top right corner of the screen. From the list of plugins, choose “All-in-One WP Migration” and click the “Select” button.
Step 3: Click on Constants.php File
After selecting the All-in-One WP Migration plugin, you will be taken to the plugin editor screen. Look for the file labeled “constants.php” and click on it to open the file.
Step 4: Search for the Word AI1WM_MAX_FILE_SIZE and Change Its Value
Once you have opened the constants.php file, use the search function (usually denoted by a magnifying glass icon) to find the line of code that reads:
define( ‘AI1WM_MAX_FILE_SIZE’, 2 << 28 );
This line of code sets the maximum upload file size to 512 MB. To increase this limit, you will need to change the value of the “AI1WM_MAX_FILE_SIZE” constant.
Step 5: Update the File
To increase the maximum upload file size, change the value of the “AI1WM_MAX_FILE_SIZE” constant to the desired size. For example, if you want to increase the limit to 1 GB, change the value to:
define( ‘AI1WM_MAX_FILE_SIZE’, 536870912 );
If you want to upload files larger than 1 GB, you can increase the value accordingly. For instance, if you want to upload a file up to 3 GB, you can change the value to:
define( ‘AI1WM_MAX_FILE_SIZE’, 536870912 * 6 );
After making the necessary changes, click on the “Update File” button to save your changes. Congratulations, you have successfully increased the maximum upload file size for All-in-One WP Migration!
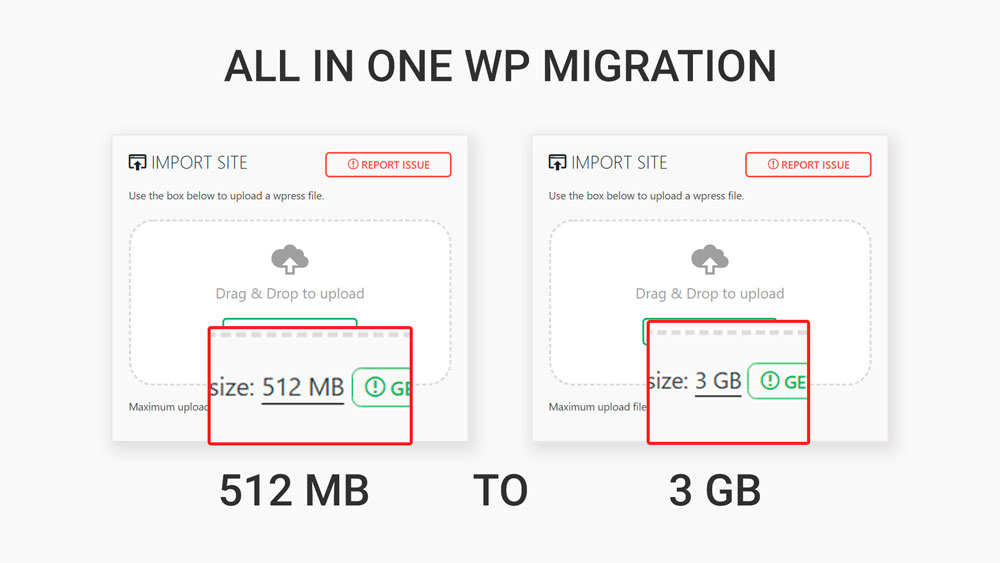
Using this process we were able to switch our maximum upload file size from 512MB to 3GB.
In conclusion, increasing the maximum upload file size for All-in-One WP Migration is a quick and easy process that can be done in just a few steps. By following the instructions outlined above, you can increase the limit to suit your needs and upload larger files with ease. Remember to always be cautious when editing files and to make a backup before making any changes.
Connect with me on LinkedIn: https://www.linkedin.com/in/danielflips/
- Google Analytics for Beginners: Guide to Mastering Analytics - July 28, 2023
- National SEO for Lawyers: Drive Nationwide Traffic for Your Firm - July 28, 2023
- The Power of Local SEO for Lawyers: Build Your Practice - July 28, 2023

Chat GPT for Google Sheets: Automate Your Google Sheets Tasks